

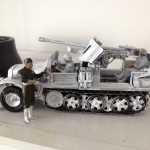
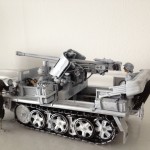
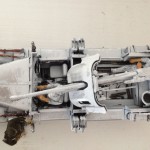
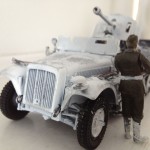
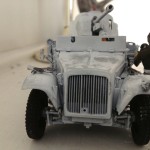
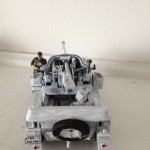
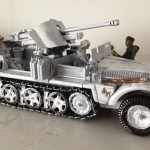
Italeri 1:35 Demag with Pak 38
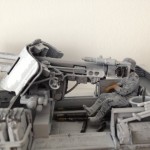
Garrett built this Italeri 1/25th scale German halftrack in about a weekend. He’s experimenting with dry-brushing and layering coats of paint to add depth.
Garrett built this Italeri 1/25th scale German halftrack in about a weekend. He’s experimenting with dry-brushing and layering coats of paint to add depth.

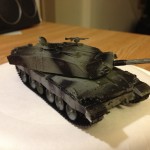
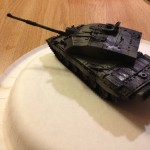
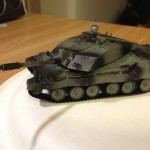
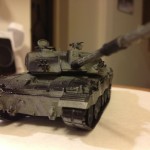
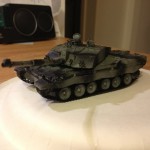
This is a Dragon 1/72nd scale Challenger 2, a Main Battle Tank (MBT) of the British Army.
Garrett built this in a weekend. He’s 13, and managed to figure out the dry brushing technique on his own. Note the scratches near the hatch on the turret.
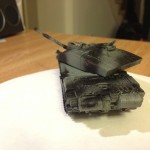
Another masterpiece by Garrett, his first “quality” kit. Some of the little fiddly bits gave him trouble, especially the basket on the rear of the turret and required my assistance. He also asked me to do the link & length treads — they gave me fits! — so he just did them one day while I was making dinner… just turned them out in about 20 minutes.
When I was young, I loved to build models. I started around age 8 and built quite a few over the years; mostly armor, planes, and ships. I wasn’t into building cars or other bland (to my young sensibilities!) kits. I always wanted to build a Tamiya kit as they always looked to be of superior detail than similar Monogram or Revell kits but they were always out of budget.
As an adult, I decided to return to model building and promptly made my inner child happy and bought a coveted Tamiya kit, the M5A1 Stuart Light Tank *. I resolved to use every ounce of skill I had, every drop of patience, and produce a build worthy of this precious kit. I bought the proper paints, fresh X-Acto blades, and set to work. I took my time, carefully trimming each piece, dry fitting and most importantly, using just enough glue. No gluey fingerprints would mar this masterpiece.
Then life happened. The wedding, then two great kids — future modellers, but that’s another post — and my partially built kit sat in its box, gathering dust.
Fast forward 15 years. Yes, fifteen. Now that my boys are older, and happily kit bashing alongside me and more importantly no longer requiring supervision and assistance on every part, my attention returned to my neglected Stuart.
Here’s the final result. My oldest, Garrett, did the final detail painting of the tools, shells in the machine gun, and he also weathered the tracks with a weathering crayon. Not bad!
*
It appears Tamiya has updated their kit since I purchased this one. Most notably, the turret has the large slope on the right hand side